How to Remove an Image Background in Microsoft PowerPoint

If you need to remove a distracting background or make your subject stand out, you can easily remove an image background in PowerPoint.
You don’t always have time to perform fancy photo editing when you’re putting together a slideshow. Luckily, Microsoft PowerPoint gives you some terrific built-in editing tools like background removal.
Whether you want to pop a building out from its surroundings or get rid of something distracting behind your subject, here’s how to remove the background from an image in PowerPoint.
Background Removal Limits in PowerPoint
Before you begin, keep in mind that the background removal feature in PowerPoint does not currently support the following image types.
- Scalable Vector Graphics (SVG)
- Adobe Illustrator Graphics (AI)
- Windows Metafile Format (WMF)
- Vector Drawing File (DRW)
Remove an Image Background in PowerPoint
Whether you’re using Windows or Mac, PowerPoint offers the same tools and is in the same spots on both platforms.
Open your presentation in PowerPoint and select the image. You’ll see the Picture Format tab display. Click Remove Background on the left side of the ribbon.


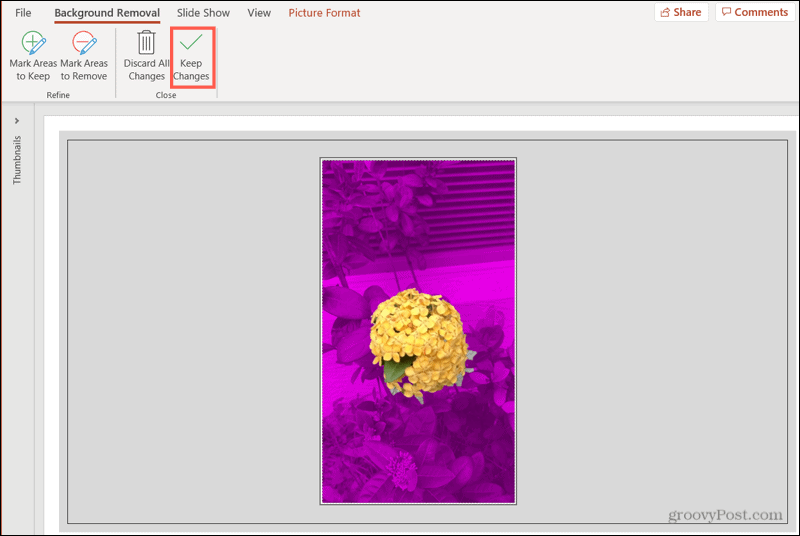
You can see the area that PowerPoint believes to be the background colored in magenta. If it looks correct and you want to remove that magenta-colored area, click Keep Changes in the ribbon. If you prefer to make a few manual adjustments, skip to the next step.


Looking at the image below, you’ll see that some areas aren’t included in the magenta background, like part of the floor and furniture. We want to include those and remove them as well.


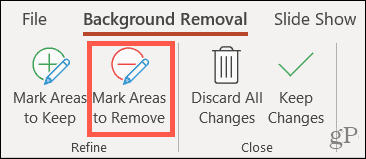
Click Mark Areas to Remove in the ribbon.


Use the pencil to draw around those other areas you want to remove. If the areas are tiny, just click them. You’ll see the marked areas become magenta.


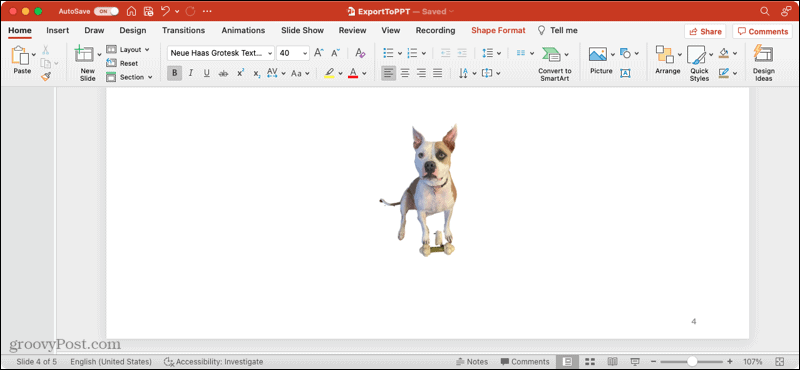
Now, we have a few spots colored in magenta that we actually want to keep, like the dog’s tail and the tip of her ear. Click Mark Areas to Keep and use the pencil to select these. You’ll then see these marked areas no longer colored, which means they’ll remain with the image.


When you finish making all of your manual adjustments, click Keep Changes. If, at any time during the process, you change your mind and want to keep the image as-is, click Discard All Changes.


Save the Image Separately
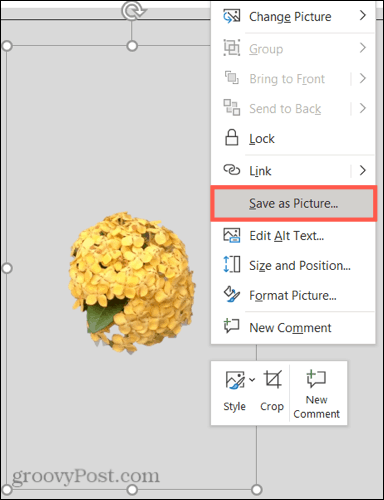
If you decide that you’d like to hold onto the image you removed the background from and use it outside of PowerPoint, you can save it. This is also available on both Windows and Mac.
- Right-click on the image and choose Save as Picture.


- Choose a location to save the image. Optionally, you can give it a name and choose a different image file format.
- Click Save.


More on Images
For related articles to help you work with images in Microsoft Office, check out these how-tos.
- How to Add Microsoft PowerPoint Image Captions
- How to Compress Images in Microsoft PowerPoint
- How to Edit Images in Microsoft Word
- How to Compress Images in Microsoft Word
Make Your Image Stand Out in PowerPoint
Removing the background from an image is easy to do with the tools in Microsoft PointPoint on both Windows and Mac. So, if you have a photo or other picture that you want to make stand out from its background, remember this tip!
